The Walkmans Yo-yos (Class)
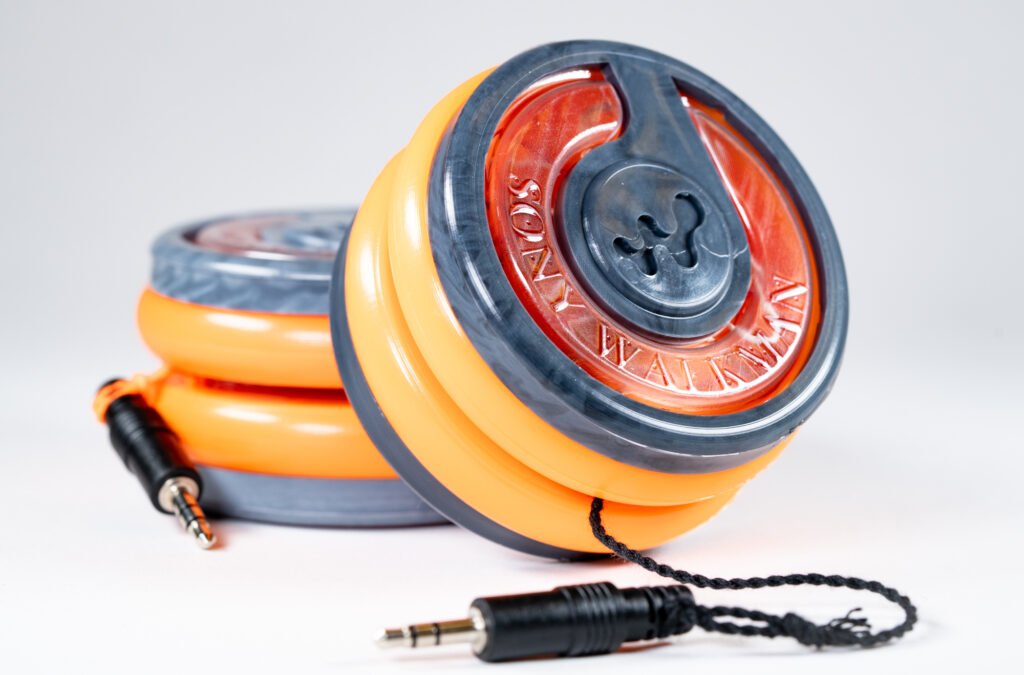
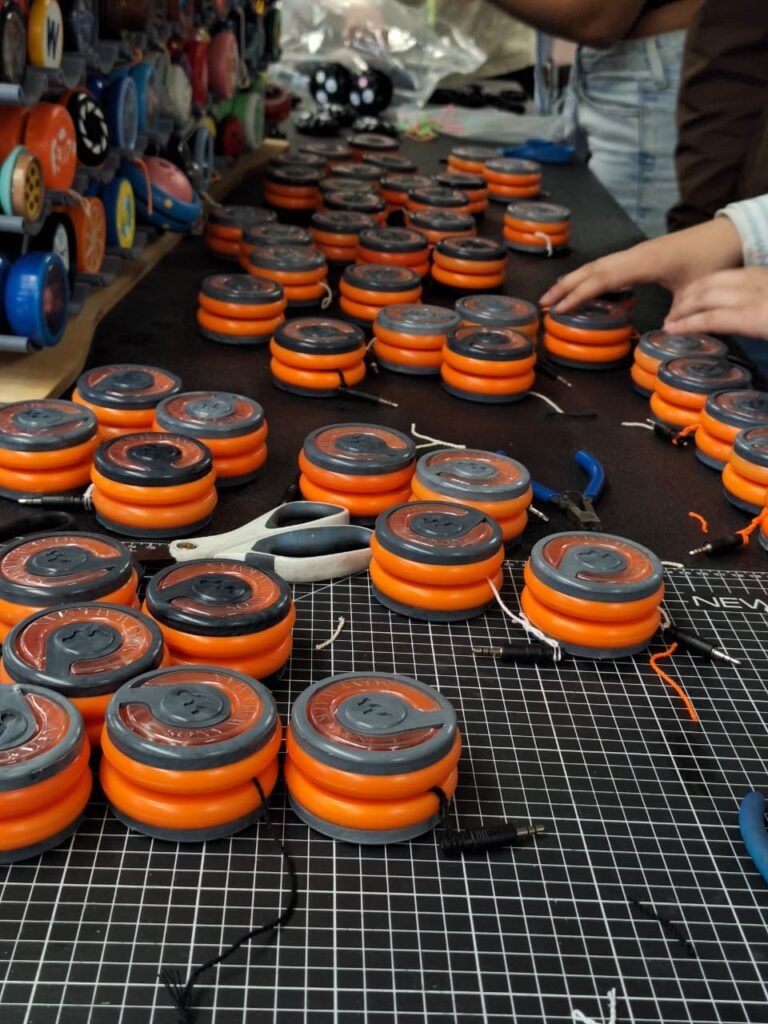
During the fall semester of my junior year, I took Design and Manufacturing II (2.008), where teams are tasked with manufacturing 50 yo-yos by the end of the semester from scratch. This process involves CAD, CAM, injection molding, thermoforming and assembly. After generating several potential ideas, our team decided to design yo-yos inspired by the iconic Sony Walkman headphones.
See our results here!
Objectives
- 2 separate injection molded parts and at least 1 thermoformed part
- Must product 50 identical Yo-yos
- Survive a drop test from a height of 4 feet
Design
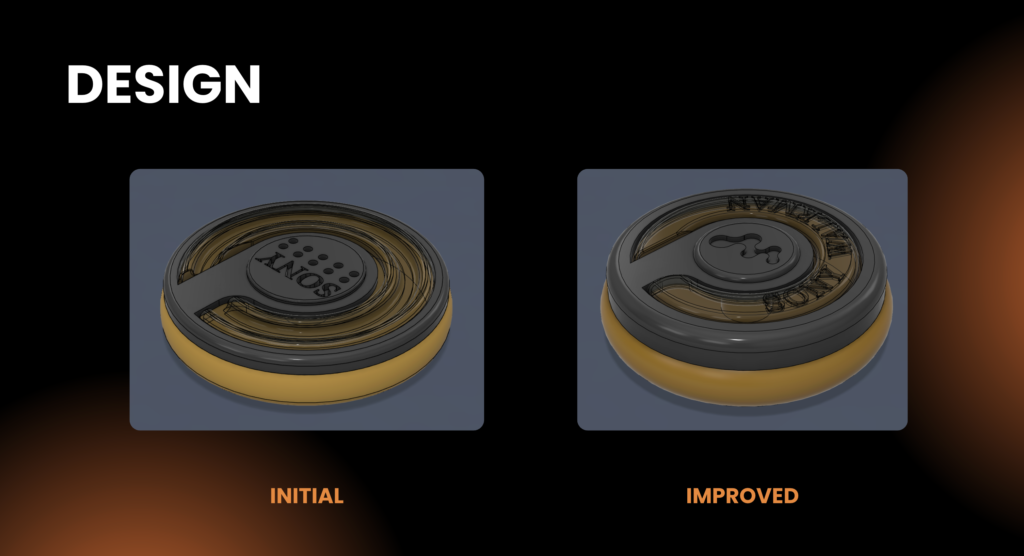
We began by designing our yo-yo in Fusion 360. We quickly realized that thin lettering with and small holes on the ring would not be manufacturable through injection molding , so modified our design, rounding out our features and moving the lettering to the thermoformed part.
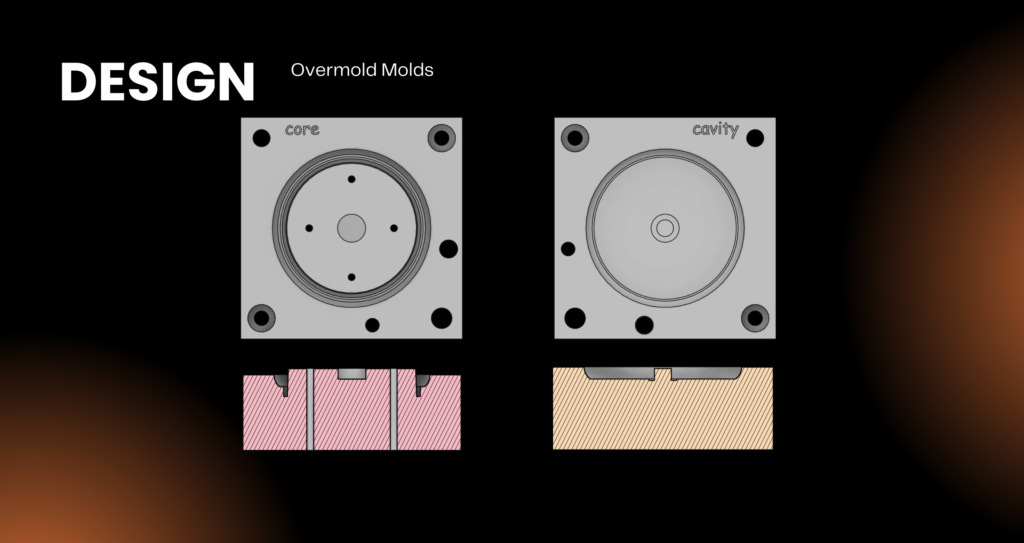
Then we began to CAD the core and cavity molds for the body, ring, and overmold. Our team consisted of 6 members, so we split up the work such that I was responsible for creating the molds for the overmolds and performing the CAM for the core side.
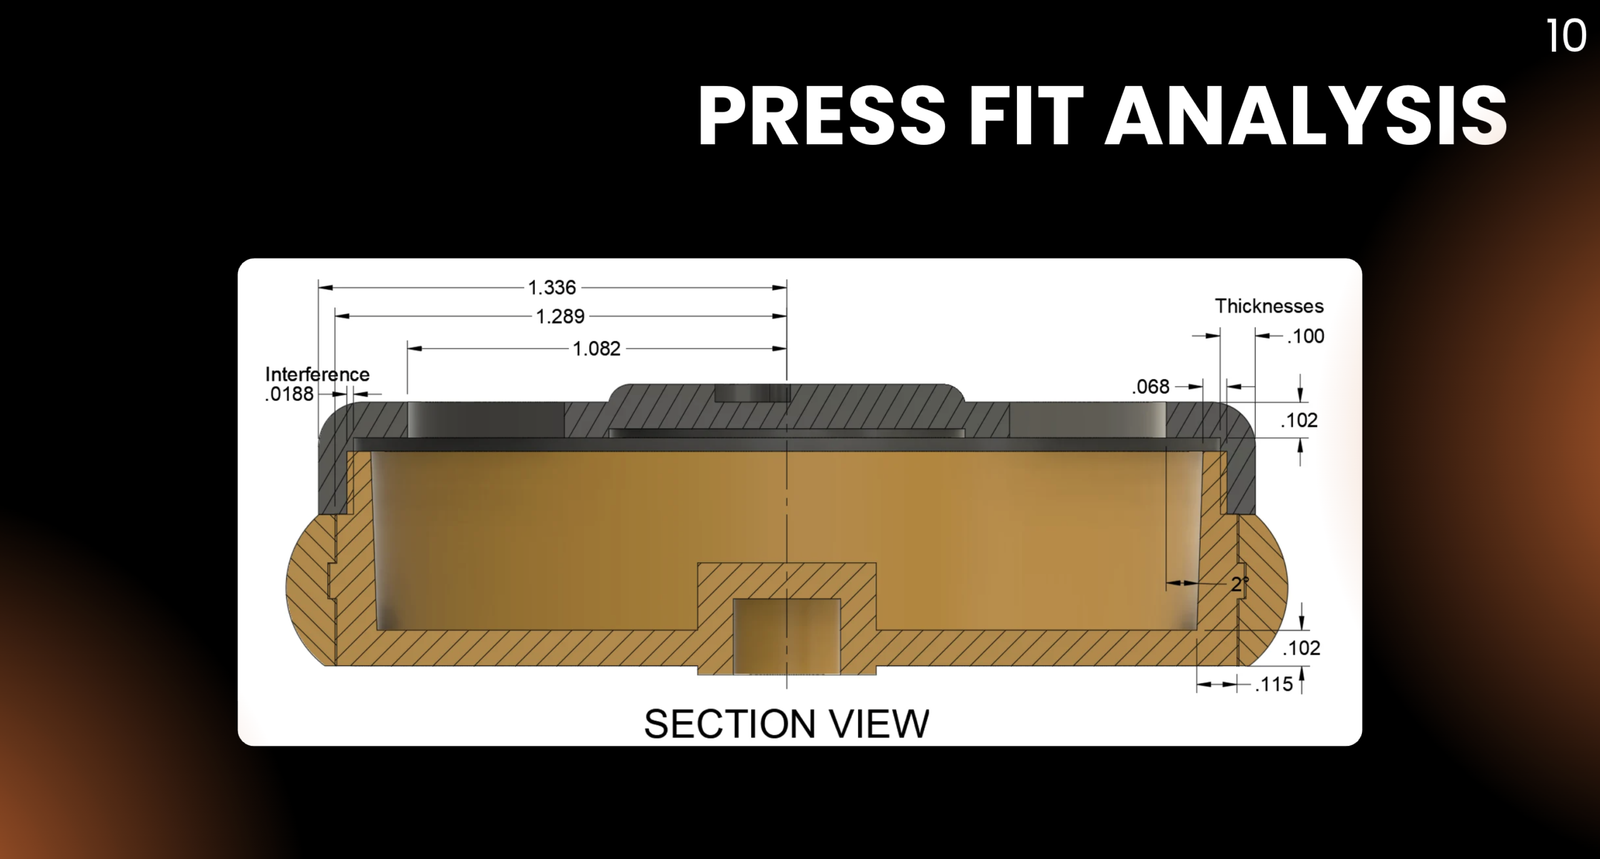
Press Fit Calculations
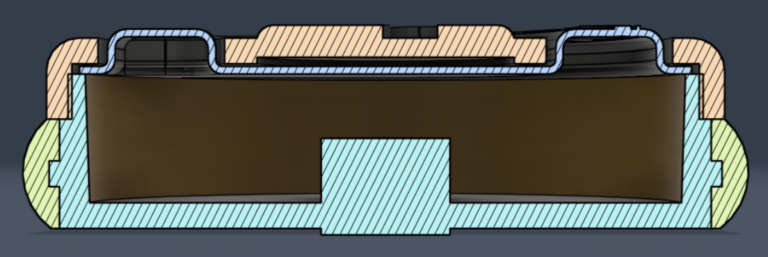
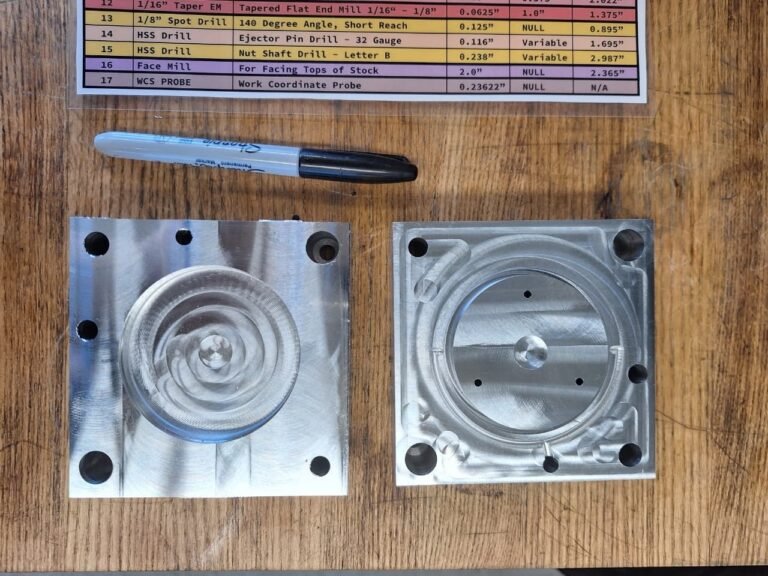
A critical metric for the design process was the interference diameter which determined the press fit between the body and the ring. I created a press-fit calculator to estimate our interference diameter. I also compared these calculated values against past yo-yos designs with a similar form factor. We then manufactured our molds for the body and the ring on the HASS CNC mill then injection molded them on the Boy.
Injection Molding
We realized our rings our yo-yo bodies were too big, while our rings were too small. After taking CMM measurements of the molds and comparing them to measurements of the produces bodies and realized, we determined that the inaccuracies for the body were due to chatter and tool deflection. The rings were too small, because we underestimated the amount of shrinkage we’d experience.
We edited our CAD and CAM of our molds after performing subsequent calculations. We widened features to ensure that the depth of cut for a tool did not exceed 1/3 that of the diameter of the tool. We adjusted operations, editing our step-over size, lead-ins, and ramps to allow for a smoother finish while optimizing for a reasonable machine time.
Eventually, we were able to dial in our parameters and produce a successful complete yo-yo. One down, 50 more to go!
Overmold
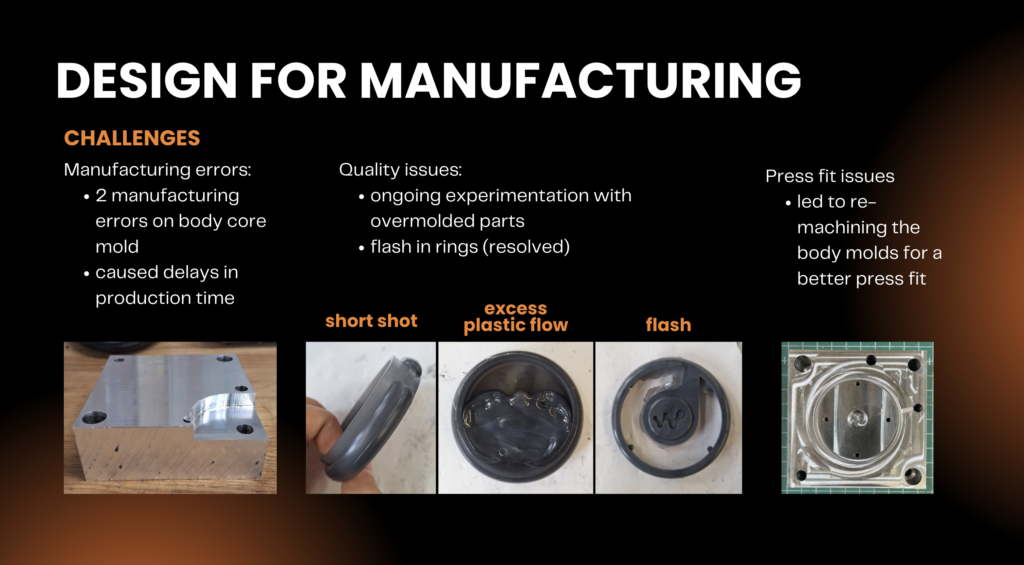
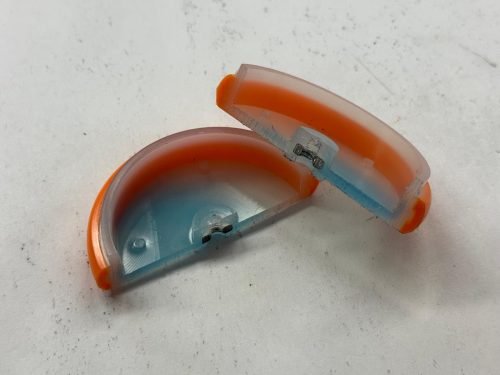
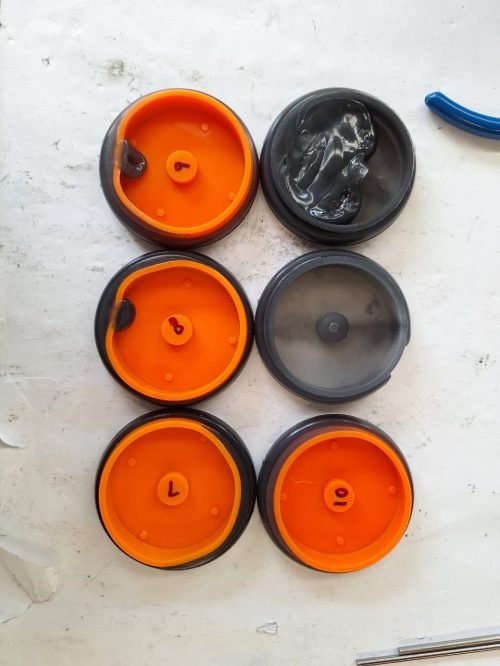
We decided to create an overmold to achieve additional thickness, characteristic of that of ear pads. The overmold worked by placing an injection molded body (once fully cooled) into the core mold of the overmold such that the molten polypropylene would flow around the body, reinforcing its shape.
We had to make several iterations to our injection molding parameters to avoid flash, short shot, and uneven filling of the plastic around the body. This pushed us to explore modifying our injection velocity, dosage stroke, and packing pressure.
Results
Ultimately, we produced over 150 bodies and 100 rings.
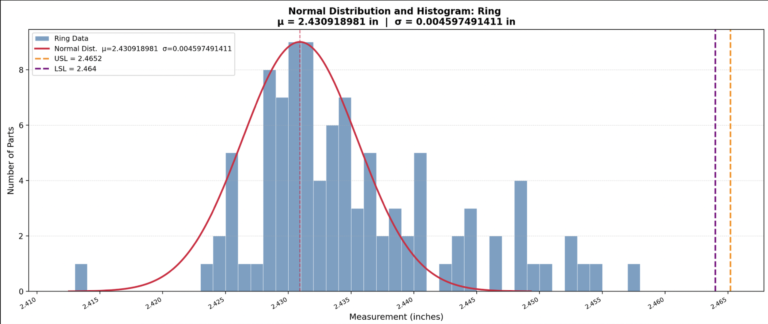
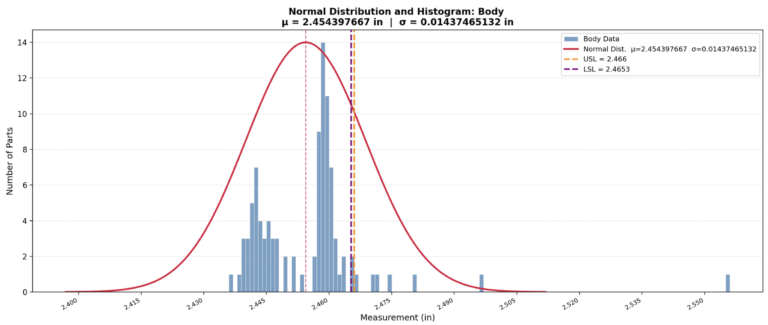
To validate the precision of our molds, we measured the interference diameter of the body and the ring, producing distribution graphs.
We were able to achieve standard deviations of 0.05″ and 0.01″, confirming the accuracy of our machined molds and manufacturing process.
We successfully manufactured over 50 yo-yos. 9/10 of our yo-yos survived the drop test. We realized that the impulse force we had calculated initially didn’t account for the added weight of the overmold – a good lesson learned for next time!
The class was a great introduction to manufacturing processes at scale and the process was all the more enjoyable thanks to my team!